
Next.js
A starting template of a Next.js project, setup with Redux Toolkit and Tailwind CSS 3.
Repo
This template is a public repo on GitHub, and can be found here.
Specifications
This project is setup with Next.js 12.1.4 and React 17.0.2.
It also includes Redux Toolkit 1.8.1, setup with a Redux Store and a test reducer.
Tailwind CSS 3.0.23 is installed and setup to work with Tailwind UI components, meaning that:
Interis setup as the default font.- The
@headlessui/reactpackage is installed (see here for details). - The
@heroicons/reactpackage is installed (see here for details). - The Tailwind forms plugin is installed.
In addition to the 5 standard Tailwind breakpoints, I have added an xs breakpoint at 512px, and a 2xs breakpoint at 384px.
These can be used with classes just like the standard breakpoints, for example <div className='text-base 2xs:text-lg xs:text-xl sm:text-2xl'>.
Note that I have not installed the Tailwind typography plugin or the Tailwind aspect-ratio plugin. These are required for some Tailwind UI components, so should be installed as needed.
Setup
Feel free to clone this template or use it any way you see fit. However, the simplest way to get started is to:
-
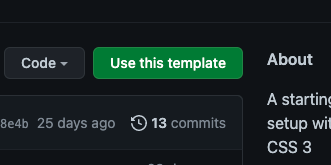
Navigate to the template on GitHub.
-
Click 'Use this template'.
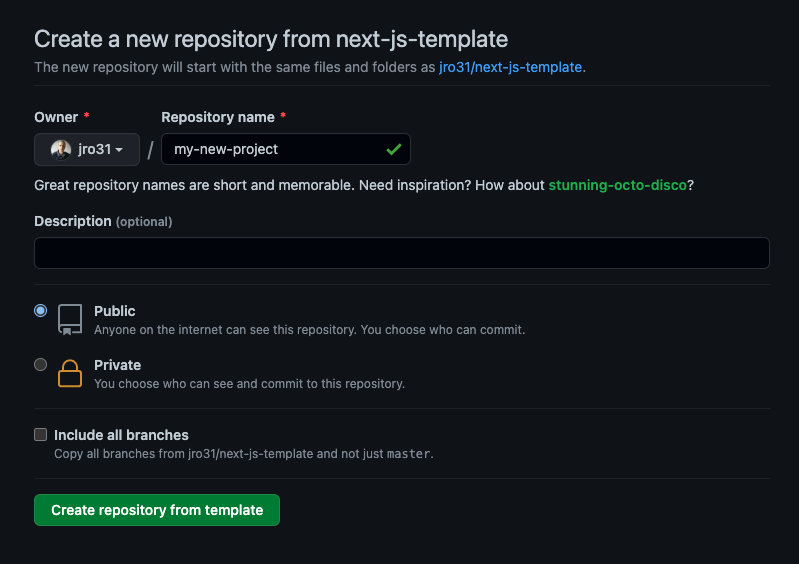
-
On the next screen, fill-in a repository name and click 'Create repository from template'.
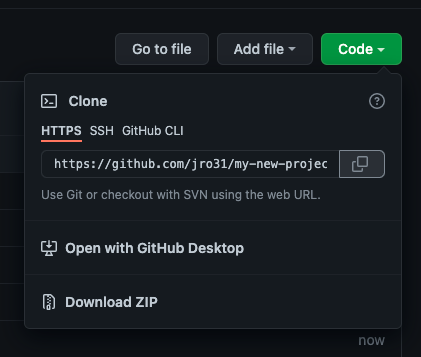
-
On the next page, click the 'Code' button, and in the dropdown, copy the url beneath 'HTTPS'.
-
In your local terminal, CD into the folder where you want to store the project. Then type
git clone [THE URL YOU JUST COPIED], for examplegit clone https://github.com/jro31/my-new-project.git, and pressEnter.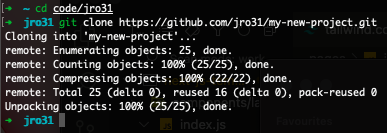
-
CD into the created repo, for example
cd my-new-project.
-
Run
npm installto install all packages (this requires that you have Node.js installed).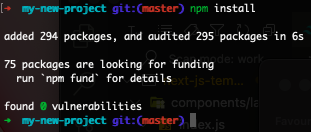
-
To start the server, run
npm run dev.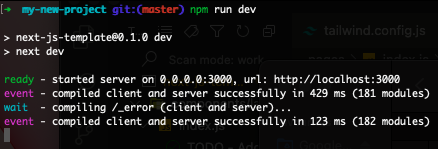
-
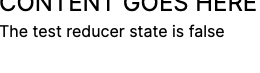
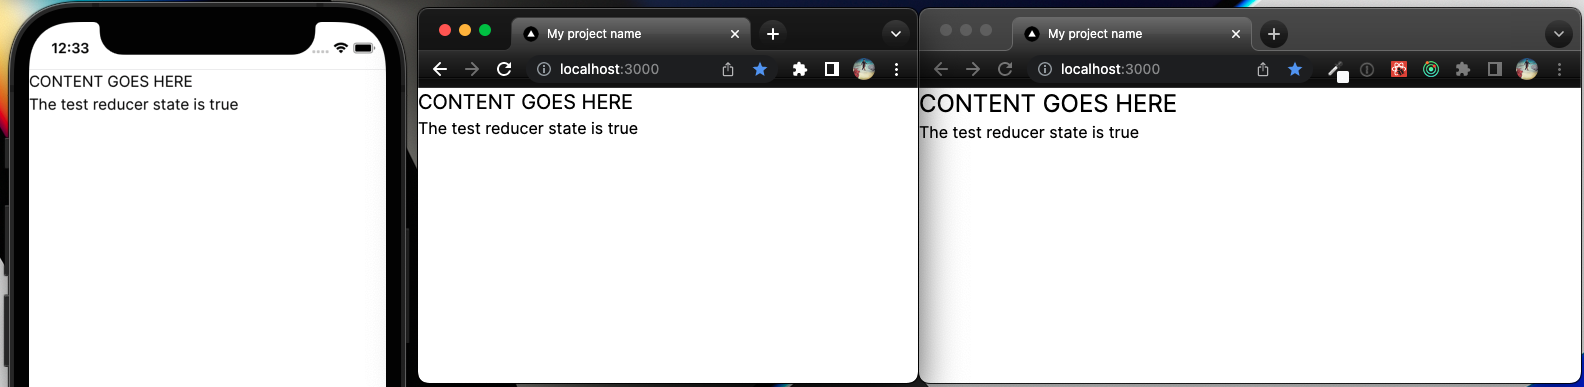
Navigate to localhost:3000. You should see the following page:
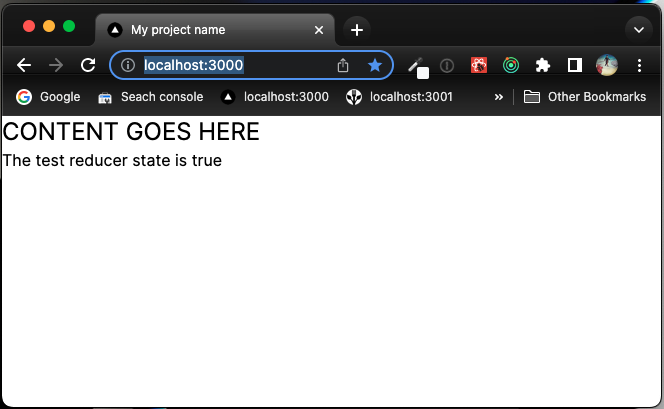
-
To check that Redux Toolkit is working, click on the
The test reducer state is trueline. It should toggle betweentrueandfalse.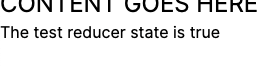
-
To check that Tailwind CSS is working, resize the viewport (browser window). The
CONTENT GOES HEREtext should change size when:- Below 384px
- 384px to 639px
- Above 639px
If all of that is working, then you're setup and ready to go!
To do after setup
There are a couple more to-dos to do to get this project setup as your own. They are marked within the code with TODO tags.
- You should update the
public/favicon.icofile to your own favicon. Currently it is the 'Vercel' logo. - In
package.jsonyou should update the"name": "next-js-template",line to your own project name, for example"name": "my-new-project",. The next time you runnpm install, yourpackage-lock.jsonfile will be updated with your project name. - In order to populate the
<Head>tag with correct<title>and<meta>tags, inpages/index.jsyou should:- Update the
appTitlevariable to your project name. - Update
appDescriptionto a description about your app. - Update
baseUrlto the production URL of your app. - Add an
imagesfolder topublic, and add an image file that you'd like to be seen when people share your app on social media. Then updatesocialMediaImagePathto the path of this image. - Update the
<meta name='keywords' content='these, are, some, keywords, about, my project' />line to be some keywords about your project. - Uncomment the
<meta name='twitter:site' content='@my-site-twitter-handle' />line and add the Twitter handle you want associated to your app.
- Update the
- If your app will have a navbar, you should put it in
components/layout/index.js, above the<main>{props.children}</main>line.
And with that you're ready to go. Happy hacking!